> ## Documentation Index
> Fetch the complete documentation index at: https://docs.livingsecurity.com/llms.txt
> Use this file to discover all available pages before exploring further.
# Abnormal Security
> Connect Abnormal Security to import email threat and phishing campaign data.
export const EgressIpSafelist = ({system}) =>
You need Living Security's egress IP ranges to finish this step, and they
aren't shown in {system} or in these docs. Ask your Living Security program owner, who can
get the current ranges from their CSM or support@livingsecurity.com. Enter each as a CIDR
block (e.g. 203.0.113.0/24) or a single host with /32.
;
export const ConnectInPlatform = ({tile, children}) =>
Completed by whoever holds Living Security access — the program owner, or the system
admin if they've been invited (delegated setup).
-
Go to Settings → Integrations → Catalog, find the{' '}
{tile} tile, click Connect.
-
Fill in the fields below, then click Connect.
{children}
;
export const SystemAdminBanner = ({system, recommendDelegated}) =>
This guide is for your {system} administrator. It covers creating API
credentials inside {system}, which requires admin access to {system} — not to the
Living Security Platform.
If you're the Living Security program owner and don't administer {system},
send this page to whoever does. They complete Part A and hand the credentials back to you
(or enter them directly if you've invited them into the platform).
{recommendDelegated && <>
{' '}Because setup produces sensitive key material, we recommend the{' '}
delegated setup path so the secret is never sent back to you.
}
;
## What Living Security needs
| Credential | Description |
| --------------------- | ---------------------------------------------------------- |
| **API key** | A REST API bearer token generated from the Abnormal Portal |
| **Regional API host** | The hostname for your Abnormal Security environment |
**Scopes:** Custom Access with **Read** on `Abuse Campaigns (AI Security Mailbox)` and `Threats`
**Required role:** **Security Admin** or **Super Admin** in Abnormal Security
### Prerequisites
* You must have **Security Admin** or **Super Admin** access in Abnormal Security to create and manage API tokens.
***
## Part A — In Abnormal Security
*Your Abnormal Security administrator completes these steps.*
1. Sign in to your Abnormal Security portal.
2. In the left navigation, click **Settings**, then select **Integrations**.
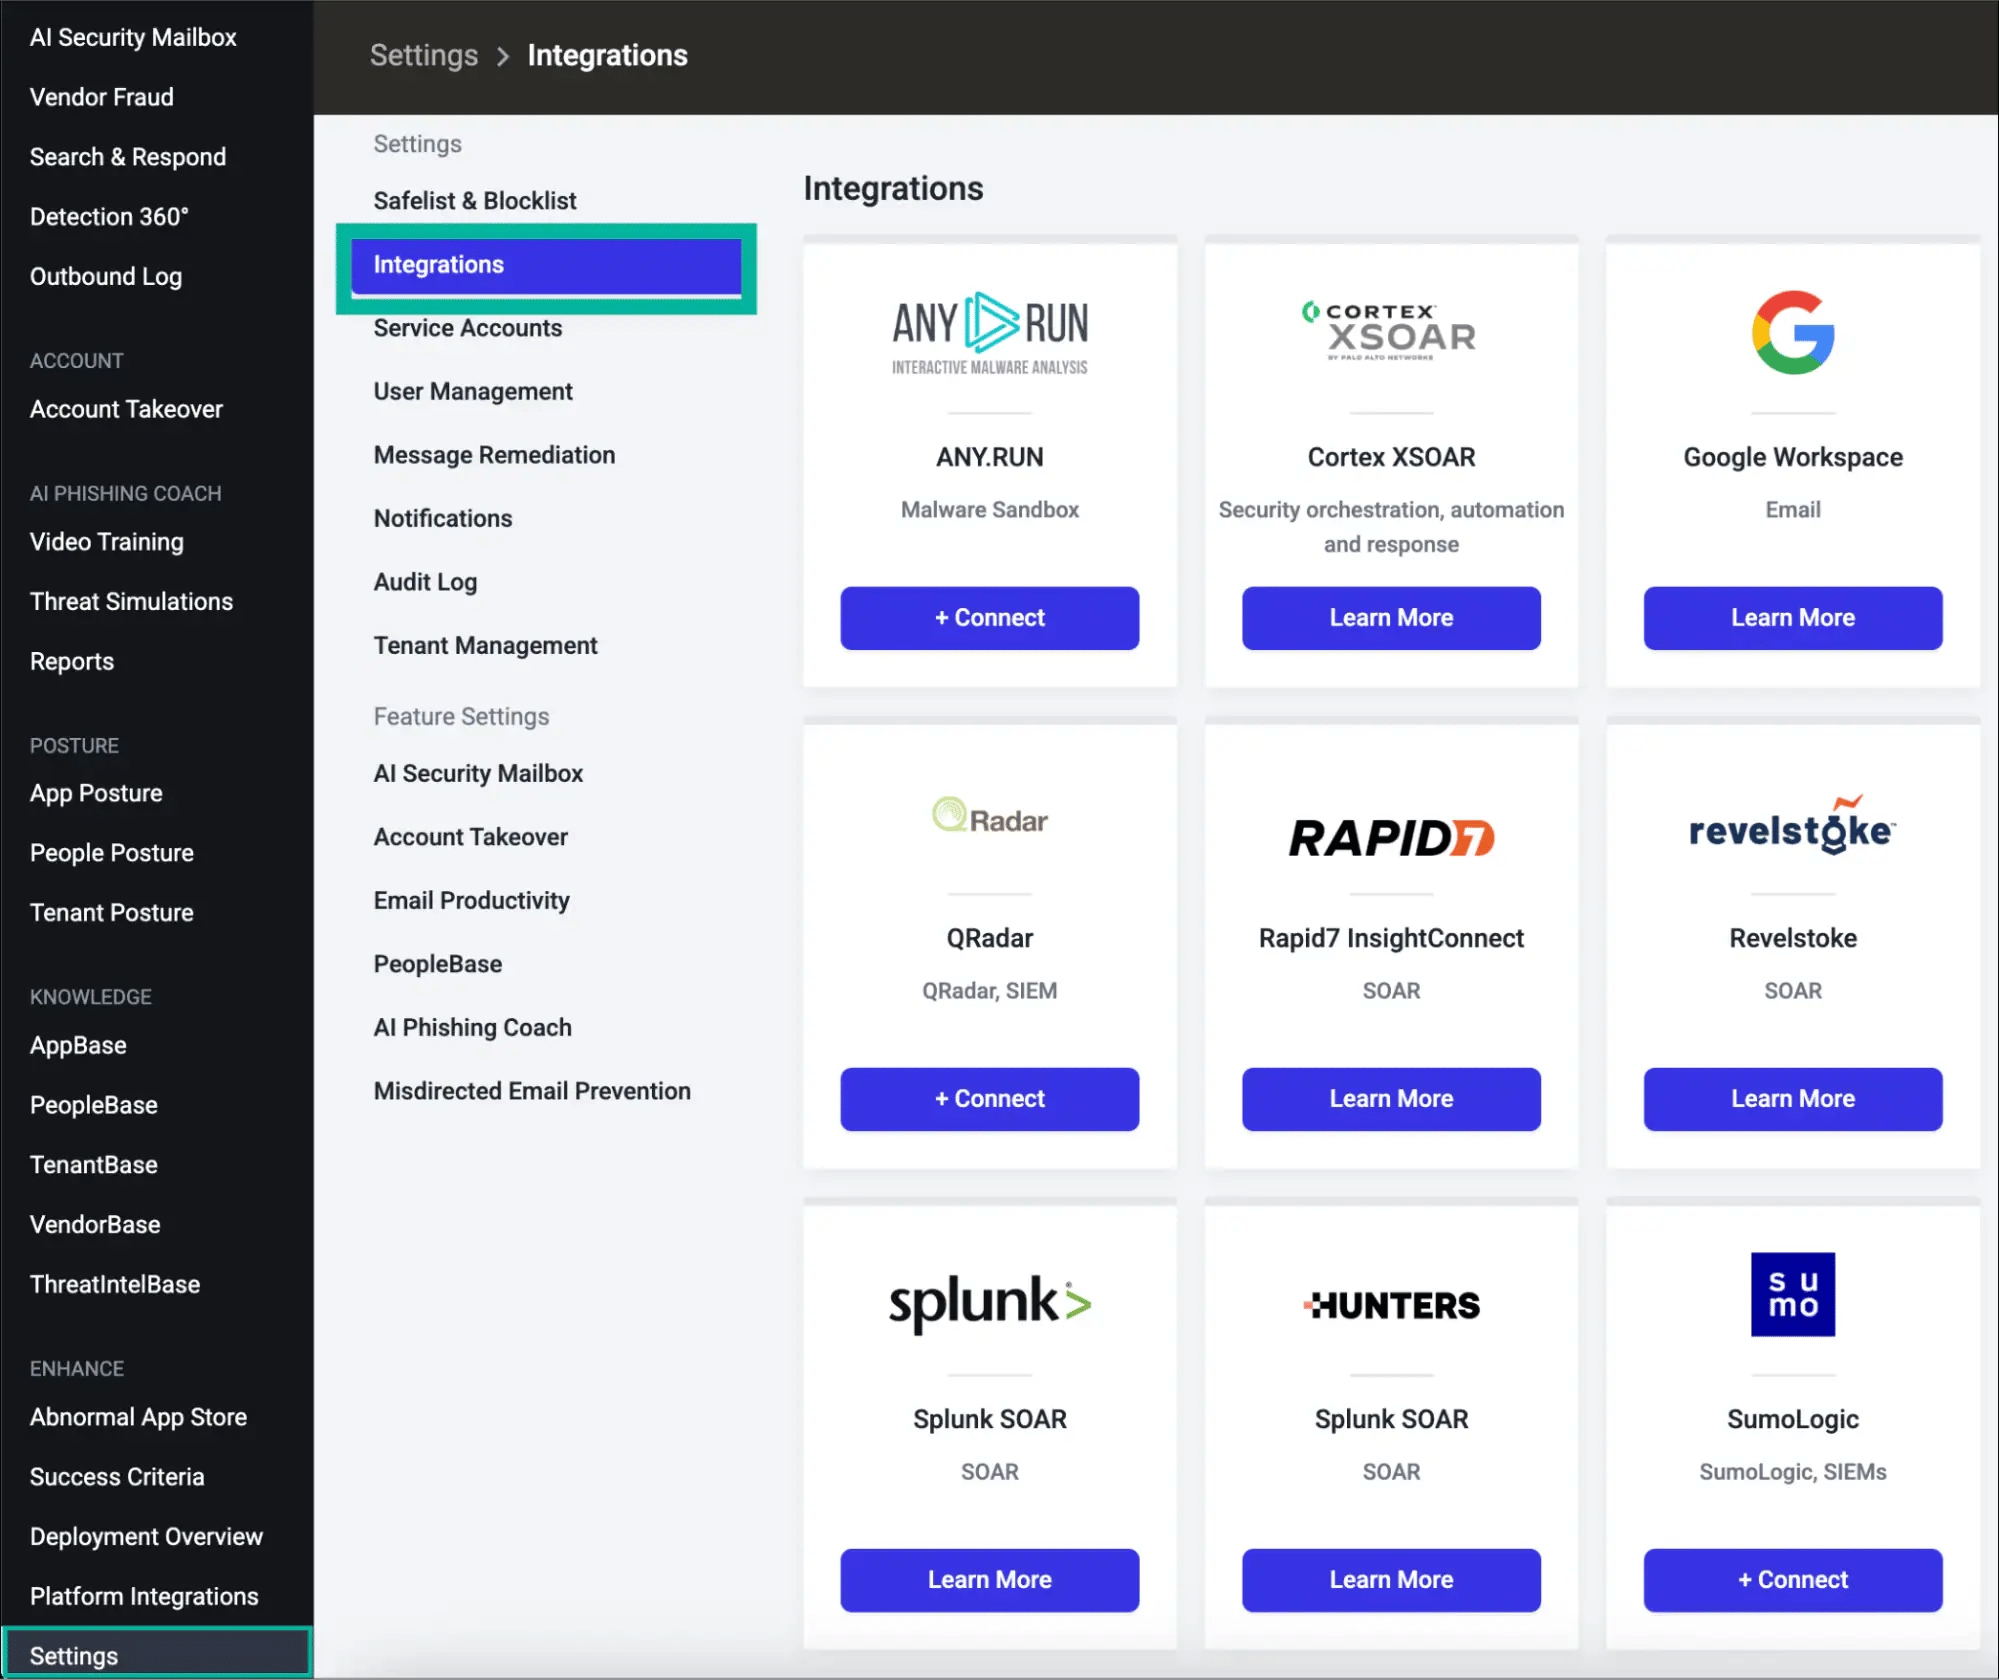 3. Scroll down to the **API Token Management** section at the bottom of the Integrations page.
4. Click **+ Create New Token**.
3. Scroll down to the **API Token Management** section at the bottom of the Integrations page.
4. Click **+ Create New Token**.
 Select **REST API** as the integration type, then click **Next**.
Choose a token scope, then click **Next**:
* **Customer (All Current and Future Tenants)** — Use this if your Abnormal account manages multiple tenants. This token covers all current and future tenants automatically.
* **Tenant (Single Tenant)** — Use this to isolate the token to a single specific tenant.
For most organizations with a single Abnormal tenant, either option works. When in doubt, select **Customer**.
Select **Custom Access** and enable **Read** for both endpoint groups:
| Endpoint group | Required access level |
| ----------------------------------------- | --------------------- |
| **Abuse Campaigns (AI Security Mailbox)** | Read |
| **Threats** | Read |
Then click **Next**.
**Read** access returns non-sensitive threat and campaign data. **Read Sensitive** additionally exposes PII, attachments, and employee data. **Write** submits remediation actions. Grant only **Read** unless your use case specifically requires more.
Fill in the following fields:
* **Token Name** — A descriptive name (e.g., `Living Security Platform`)
* **Description** — Optional context (e.g., `Read access for Living Security HRM platform`)
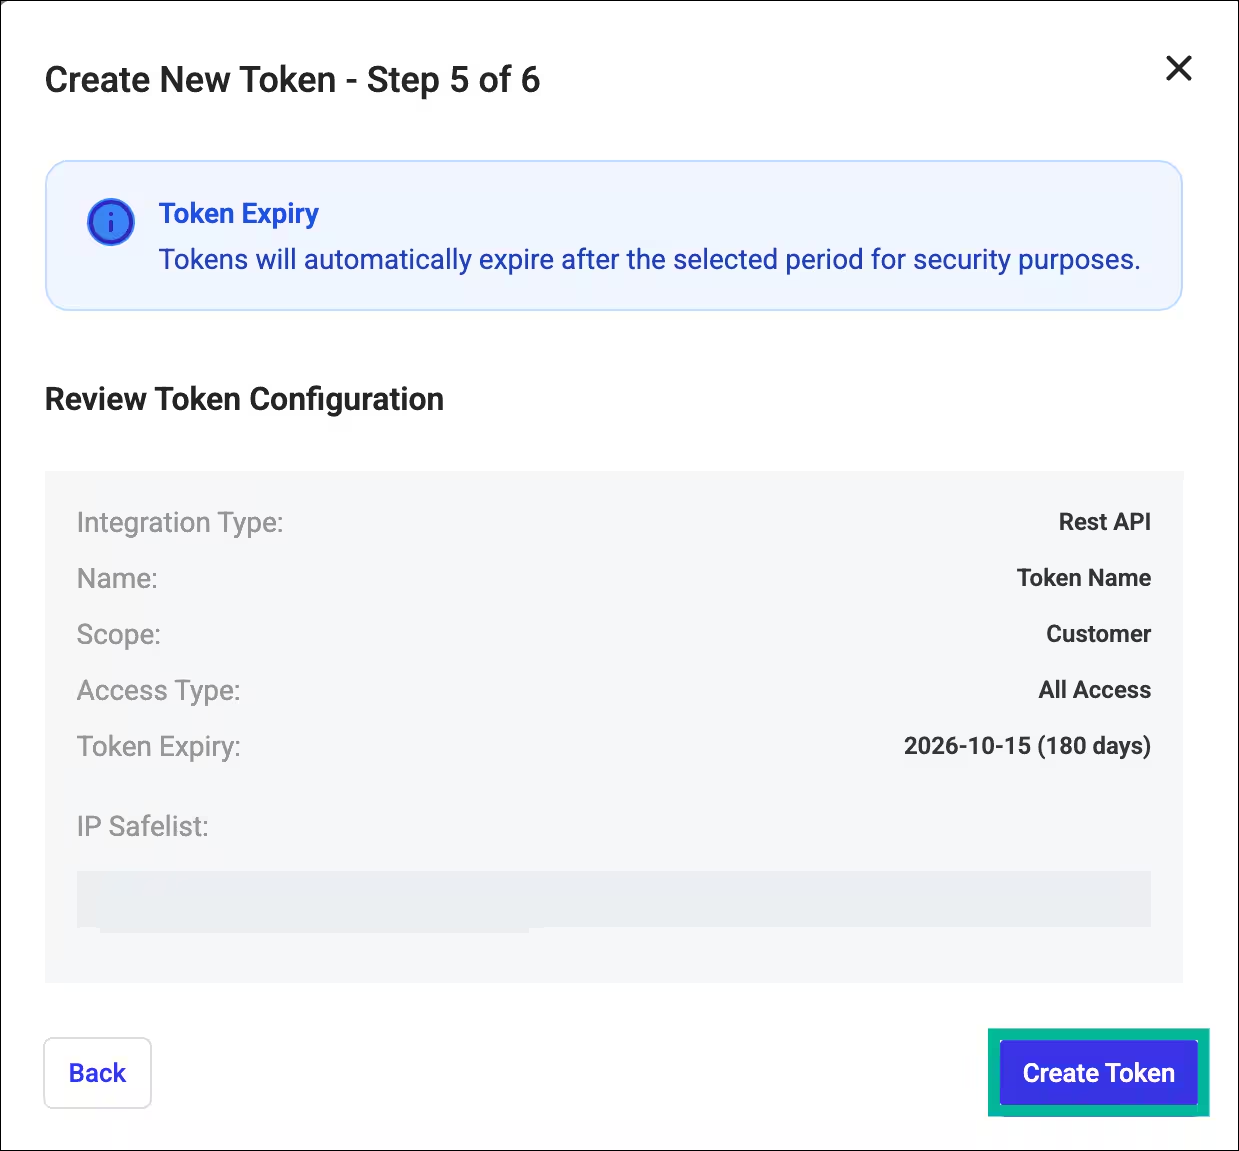
* **Token Expiry** — Choose **90**, **180**, or **365 days** to match your rotation policy. Set a calendar reminder to rotate the token before it expires.
* **IP Safelist** — Enter the Living Security egress IP ranges, one per entry. Click **Add** after each.
**The IP safelist is mandatory.** Abnormal Security rejects all API requests from addresses not on the safelist. The connection dialog will succeed, but data syncs will fail with `401 Unauthorized` until the correct IPs are safelisted.
Then click **Next**.
Review your token configuration summary, then click **Create Token**.
Select **REST API** as the integration type, then click **Next**.
Choose a token scope, then click **Next**:
* **Customer (All Current and Future Tenants)** — Use this if your Abnormal account manages multiple tenants. This token covers all current and future tenants automatically.
* **Tenant (Single Tenant)** — Use this to isolate the token to a single specific tenant.
For most organizations with a single Abnormal tenant, either option works. When in doubt, select **Customer**.
Select **Custom Access** and enable **Read** for both endpoint groups:
| Endpoint group | Required access level |
| ----------------------------------------- | --------------------- |
| **Abuse Campaigns (AI Security Mailbox)** | Read |
| **Threats** | Read |
Then click **Next**.
**Read** access returns non-sensitive threat and campaign data. **Read Sensitive** additionally exposes PII, attachments, and employee data. **Write** submits remediation actions. Grant only **Read** unless your use case specifically requires more.
Fill in the following fields:
* **Token Name** — A descriptive name (e.g., `Living Security Platform`)
* **Description** — Optional context (e.g., `Read access for Living Security HRM platform`)
* **Token Expiry** — Choose **90**, **180**, or **365 days** to match your rotation policy. Set a calendar reminder to rotate the token before it expires.
* **IP Safelist** — Enter the Living Security egress IP ranges, one per entry. Click **Add** after each.
**The IP safelist is mandatory.** Abnormal Security rejects all API requests from addresses not on the safelist. The connection dialog will succeed, but data syncs will fail with `401 Unauthorized` until the correct IPs are safelisted.
Then click **Next**.
Review your token configuration summary, then click **Create Token**.
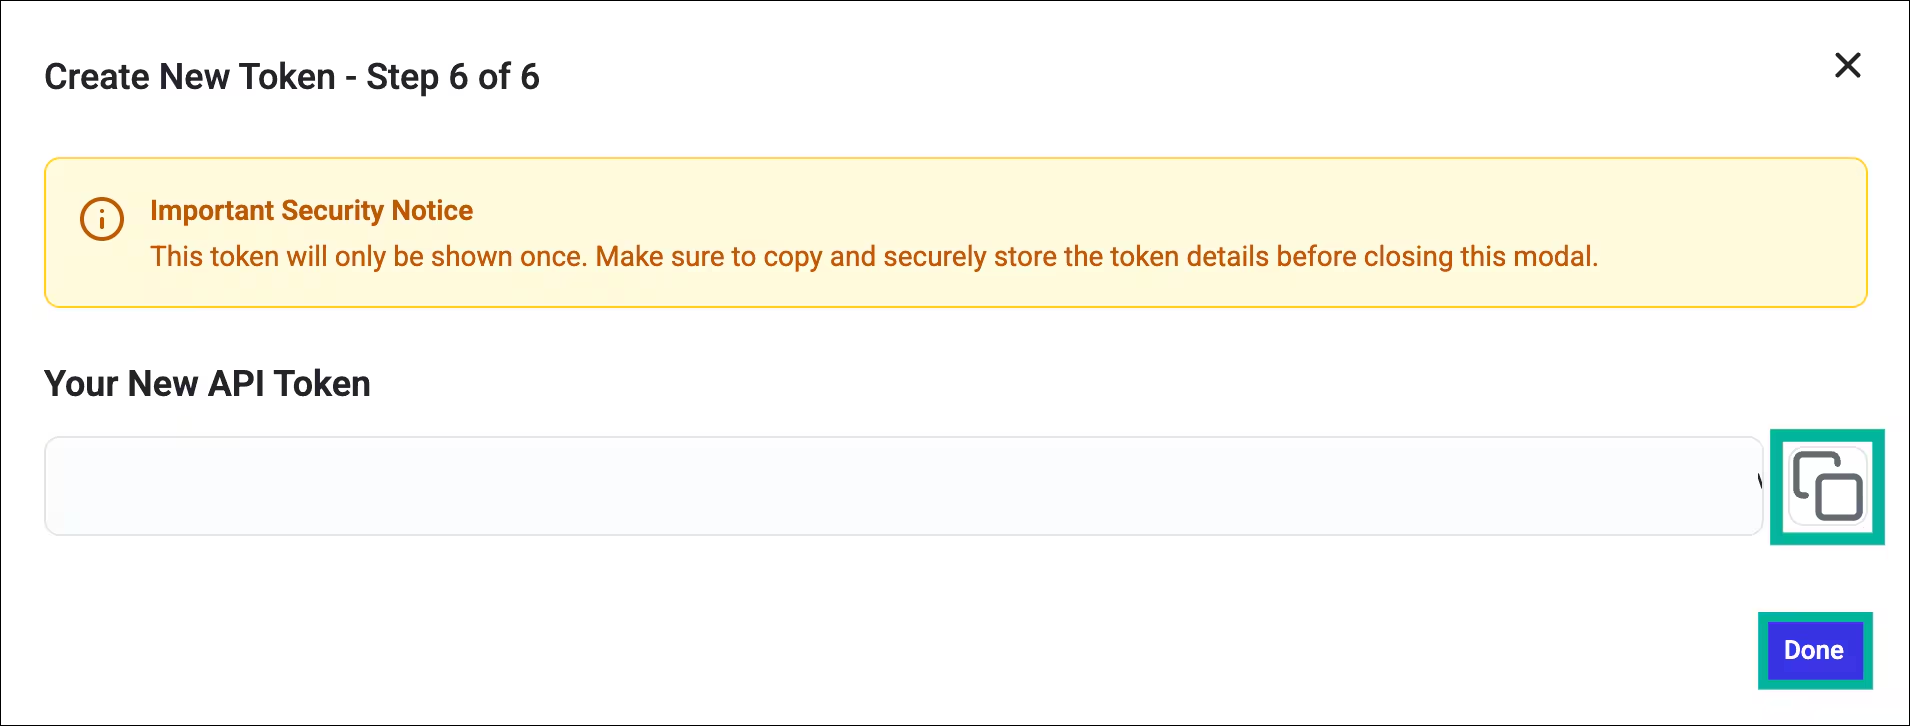 **Copy the token immediately** and store it in a secure location (e.g., a password vault or secrets manager), then click **Done**.
 The Abnormal Portal displays the token value **only once**. If you navigate away without copying it, you must create a new token and revoke the old one.
Determine the correct API host for your Abnormal Security environment:
| Environment | Regional API host |
| ----------------------- | ------------------------------ |
| Default (US commercial) | `api.abnormalplatform.com` |
| EU | `eu.rest.abnormalsecurity.com` |
| FedRAMP | `rest.abnormalsecurity.us` |
Enter the **host only** — no `https://` prefix and no trailing slash.
If you're unsure which environment your organization uses, check your Abnormal portal URL or contact your Abnormal Security account team.
***
## Part B — In the Living Security Platform
*The program owner completes this step, or the system admin if using delegated setup.*
| Field | Value |
| --------------------- | --------------------------------------------------------------------- |
| **API key** | The token copied in Part A, Step 7 |
| **Regional API host** | The host from Part A, Step 8 (US default: `api.abnormalplatform.com`) |
The Abnormal Portal displays the token value **only once**. If you navigate away without copying it, you must create a new token and revoke the old one.
Determine the correct API host for your Abnormal Security environment:
| Environment | Regional API host |
| ----------------------- | ------------------------------ |
| Default (US commercial) | `api.abnormalplatform.com` |
| EU | `eu.rest.abnormalsecurity.com` |
| FedRAMP | `rest.abnormalsecurity.us` |
Enter the **host only** — no `https://` prefix and no trailing slash.
If you're unsure which environment your organization uses, check your Abnormal portal URL or contact your Abnormal Security account team.
***
## Part B — In the Living Security Platform
*The program owner completes this step, or the system admin if using delegated setup.*
| Field | Value |
| --------------------- | --------------------------------------------------------------------- |
| **API key** | The token copied in Part A, Step 7 |
| **Regional API host** | The host from Part A, Step 8 (US default: `api.abnormalplatform.com`) |
 You are now connected to Abnormal Security.
***
## Troubleshooting
The token is missing one or both required access grants (**Abuse Campaigns** or **Threats**). Integration type, scope, and access level cannot be changed after token creation — you must create a new token with the correct settings and revoke the old one.
Either the token is invalid/expired, or the request IP is not on the safelist. Check:
1. Token has not been revoked or expired
2. All Living Security egress IPs are on the safelist (contact your CSM for current ranges)
If syncs previously worked but now fail with `401`, the egress IP ranges may have changed — verify the safelist is current.
If your organization has API tokens created before the self-service Token Management experience was introduced, they appear as **Legacy** in the dashboard. Legacy tokens continue to work but cannot be rotated — only their IP safelist can be updated. All legacy tokens expire automatically on **April 30, 2027**. Plan to replace legacy tokens with new tokens before that date.
You are now connected to Abnormal Security.
***
## Troubleshooting
The token is missing one or both required access grants (**Abuse Campaigns** or **Threats**). Integration type, scope, and access level cannot be changed after token creation — you must create a new token with the correct settings and revoke the old one.
Either the token is invalid/expired, or the request IP is not on the safelist. Check:
1. Token has not been revoked or expired
2. All Living Security egress IPs are on the safelist (contact your CSM for current ranges)
If syncs previously worked but now fail with `401`, the egress IP ranges may have changed — verify the safelist is current.
If your organization has API tokens created before the self-service Token Management experience was introduced, they appear as **Legacy** in the dashboard. Legacy tokens continue to work but cannot be rotated — only their IP safelist can be updated. All legacy tokens expire automatically on **April 30, 2027**. Plan to replace legacy tokens with new tokens before that date.